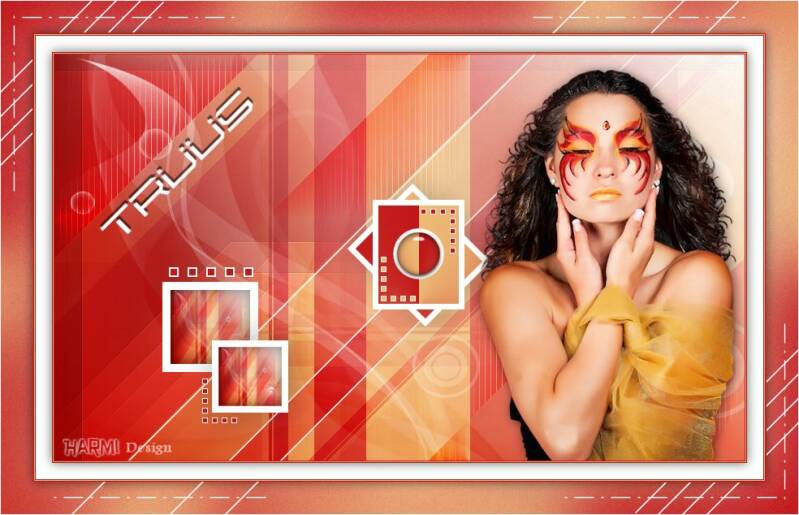
truus
This translation has been made with PSPX5 and PSPX9, it's also possible with other versions of PSP
The original Tutorial is from Monaliza, I have her permission to translate it in Dutch and English
Merci Monique
Use your own woman/man-tube
My Tube: SvB 1042 Beauty
It's not allowed to copy or download this tutorial in other sites/blogs without permission or spread under your own name
Click on the banner for the original tutorial

**************
Material

**************
In Zip
CAL-MSK-023-031218
fore-fade-back.jgd
truus_lignes
truus_lignes1
truus_titre
mz_sel_truus - 7 times
Presets 04_shadow en mz_glass_truus (Eye Candy Filter)
Colors
**************
Plugins
Alien Skin Eyes Candy 5 - Impact - Perspective Shadow en Glass
Filters Unlimited 2.0 - Buttons and Frames - 3D Glass Frame 3
Filters Unlimited 2.0 - &<Bkg Designers sf10 I> - Cruncher
Filters Unlimited 2.0 - &<Bkg Designers sf10 II> - Hinzenberg's Mirror 01
Tramage - Tow The Line
plugins Here
Double click on the Presets 04_shadow and mz_glass_truus, to install in Eye Candy Filter (or import yourself)
Selections in Selectionmap, fore-fade-back.jgd in Gradientmap and open Tubes, Mask etc. in Psp,
Use 2 Colors (a dark and a lighter one) from your Tube, play with the Blend Mode and Opacity
Extra Colors Black and White
Colors original Tutorial

Respect the work/material of the tubers and do not delete the name of the artist
DE LES
1
Open Tube, Mask etc in Psp, duplicate (shift D) and close the original, work with duplicates
Foregroundcolor = a dark one = Color 1 and Backgroundcolor a lighter one = Color 2
Create with your Foregroundcolor a Radial Gradient

Open a New transparent Image of 850 bij 500 px
Fill wit Gradient
-
Effects - Plugins - &<Bkg Designers sf10 II> - Hinzenberg's Mirror 01

2
Create a linear Gradient with fore-fade-back.jgd,
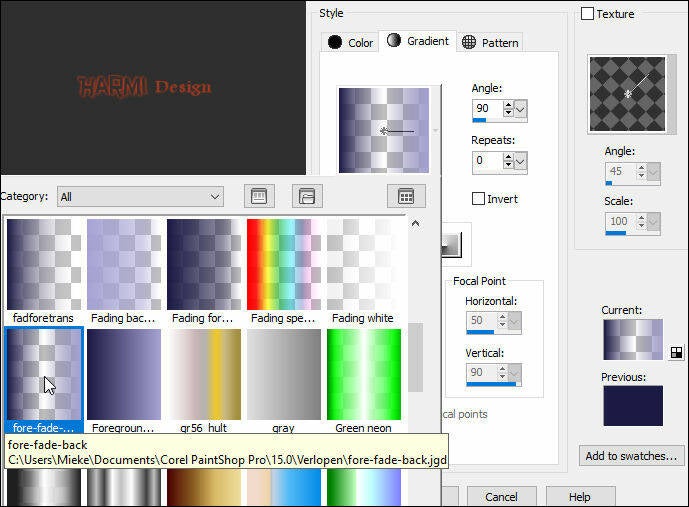
Layers - New Raster Layer
Fill wit Gradient
-
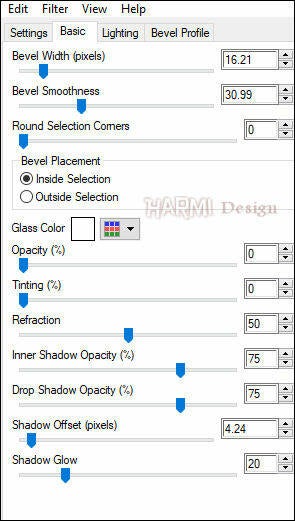
Effects - Plugins - Filters Unlimited 2.0 - Buttons & Frames - 3D Glass Frame 3

Effects - Plugins - Filters Unlimited 2.0 - &<Bkg Designers sf10 I> - Cruncher
Default 20 20
-
Effects - Edge Effects - Enhance
Blend Mode to Multiply or another one
3
Activate Bottom Layer (Raster 1)
Layers - Duplicate
Layers - Arrange - Bring to Top
Image - Mirror
-
Effects - Geometric Effects - Skew - Color 1

Blend Mode to Soft Light or another one
4
Activate your Magic Wand Tool (Feather and Tolerate 0) and select the 2 Corners, see Printscreen

Selections - Promote Selection to Layer
-
Effects - Plugins - Tramages - Tow The Line
Default 80 54 48 9
-
Selections - Select None
Effects - Image Effects - Seamless Tiling

Blend Mode to Overlay or another one
5
Backgroundcolor to White
Layers - New Raster Layer
Fill with White
Layers - New Mask Layer - From Image......CAL-MSK-023-031218

Layers - Duplicate
Layers - Merge - Merge Group
Layers - Arrange - Move Down
6
Activate Top Layer
Edit - Copy Special - Copy Merged (in Memory now)
-
Selections - Load/Save Selection - Load Selection From Disk - mz_sel_truus
Layers - New Raster Layer
Fill with White
Selections - Modify - Contract - 10
-
Edit - Paste into Selection (from Memory)
Selection still Active
-
Layers - New Raster Layer
Effects - 3D Effects - Cutout

Selections - Select None
Layers - Merge - Merge Down
7
Layers - Duplicate
Image - Resize - 80% - Resize All Layers NOT Checked
-
Press K on Keyboard (Pick Tool)
Position X: 194 and Position Y: 352

Press M on Keyboard (Move Tool)
-
Effects - Plugins - Alien Skin Eyes Candy 5 - Impact - Perspective Shadow - search for 04_shadow

8
Selections - Load/Save Selection - Load Selection From Disk - mz_sel_truus1
Layers - New Raster Layer
Fill with White
Selections - Modify - Contract - 1
Fill with Color 1
Selections - Select None
-
Effects - Plugins - Alien Skin Eyes Candy 5 - Impact - Perspective Shadow - 04_shadow
-
Selections - Load/Save Selection - Load Selection From Disk - mz_sel_truus2
Layers - New Raster Layer
Fill with White
Selections - Modify - Contract - 2
Fill with Color 1
Selections - Select None
9
Open truus_lignes
Edit - Copy
Back to your Image
Activate layer "Promoted Selection" (5th Layer From Top)
Edit - Paste As New Layer
-
Effects - Image Effects - Offset
Horizontal 10 and Vertical 0
Custom and Repeat checked
10
Activate Top Layer
Selections - Load/Save Selection - Load Selection From Disk - mz_sel_truus3
Layers - New Raster Layer
Fill with White
-
Create a Radial Gradient with the Colors from your first Gradient, see point 1
Invert checked

Selections - Modify - Contract - 7
Fill with Gradient
Selections - Select None
11
Layers Duplicate
Image - Free Rotate - 45 - Left
Layers - Arrange - Move Down
Effecten - Insteekfilters - Alien Skin Eyes Candy 5 - Impact - Perspective Shadow - 04_shadow
12
Activate Top Layer
Selections - Load/Save Selection - Load Selection From Disk - mz_sel_truus4
Layers - New Raster Layer
Fill with White
-
Activate your Gradient and uncheck Invert

Selections - Modify - Contract - 5
Fill with Gradient
-
Effecten - Insteekfilters - Alien Skin Eyes Candy 5 - Impact - Glass - search for mz_glass_truus
Selections - Select None
13
Selections - Load/Save Selection - Load Selection From Disk - mz_sel_truus5
Layers - New Raster Layer
Fill with White
Selections - Modify - Contract - 1
Fill with Color 2
Selections - Select None
-
Selections - Load/Save Selection - Load Selection From Disk - mz_sel_truus6
Layers - New Raster Layer
Fill with White
Selections - Modify - Contract - 1
Fill with Color 1
Selections - Select None
14
Open your Tube
Edit - Copy
Back to your Image
Edit - Paste As New Layer
-
Drag Tube to the Right
Give a Drop Shadow
-
Activate 3rd Layer from the Bottom (Copy of Raster 1)
Edit - Copy (in Memory now)
-
Image - Add Borders 1 px Color 1 - Symmetric
Image - Add Borders 1 px Color 2 - Symmetric
Image - Add Borders 1 px Color 1 - Symmetric
Selections - Select All
Image - Add Borders 20 px with White - Symmetric
-
Effects - 3D Effects - Drop Shadow
0 0 60 20 Black
-
Selections - Select None
15
Image - Add Borders 1 px Color 1 - Symmetric
Image - Add Borders 1 px Color 2 - Symmetric
Image - Add Borders 1 px Color 1 - Symmetric
Selections - Select All
Image - Add Borders 40 px with White - Symmetric
Selections - Invert
-
Edit - Paste into Selection (from Memory)
-
Adjust - Blur - Gaussian Blur - 40
-
Adjust - Add/Remove Noise - Add Noise

Selections - Invert
-
Effects - 3D Effects - Drop Shadow
0 0 60 20 Black
-
Selections - Select None
16
Open truus_lignes1
Edit - Copy
Back to your Image
Edit - Paste As New Layer
-
Image - Add Borders 1 px with White - Symmetric
-
Open truus_titre
Edit - Copy
Back to your Image
Edit - Paste As New Layer
-
Drag to the Left (see Image at Top)
-
Effects - 3D Effects - Drop Shadow
-4 0 60 0 Color 1
Set your name/watermark on a new Layer and Merge All
Save as Jpg
I really like to see your Version

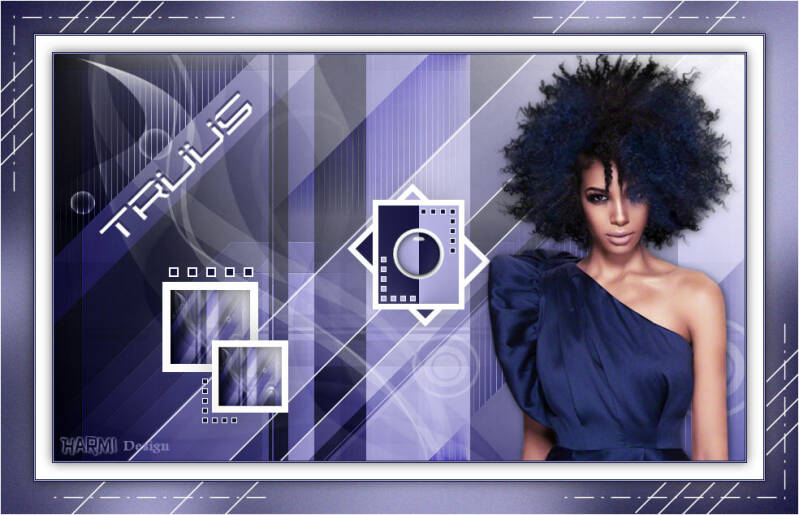
Version 2, Tube Lisa T