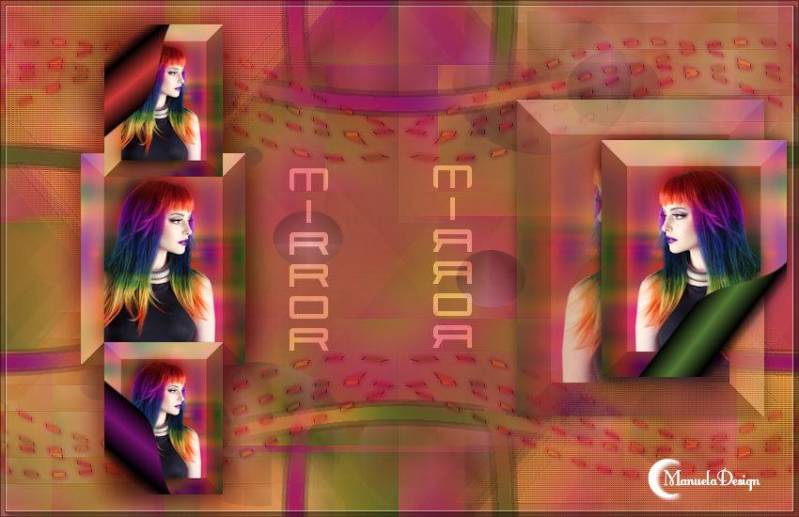
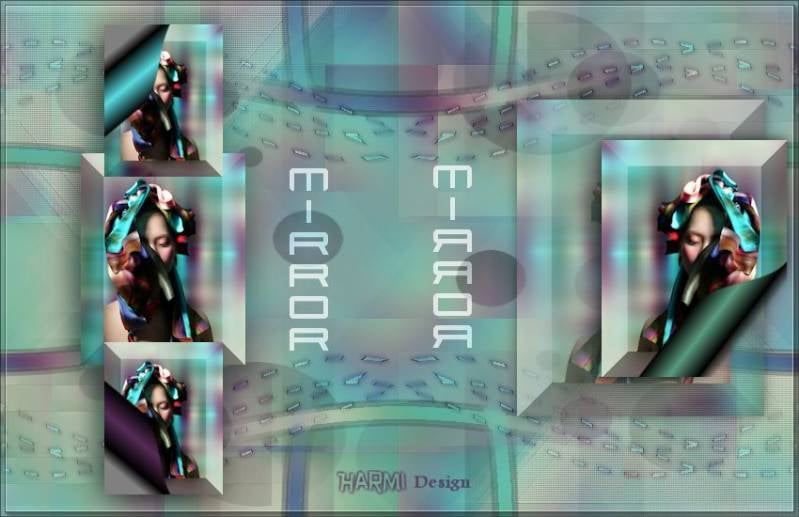
mirror


This translation has been made with PSP15, it's also possible with other versions of PSP
It's not allowed to copy or download this tutorial in other sites/blogs without permission or spread under your own name
©Psp-Art-Harmi
When you're working with other Tubes and Colors play with the Blend Mode and Opacity
Respect the work of the tubers and do not delete the name of the artist
It's not allowed to share the Material
Your Versions HERE
In Zip
Tubes
Jeanne_Woman_Face_08_05_2018
Wordartmirror
Masks
Astrid masker 62
Narah_Mask_1207
Selections
hpkselectie 125 - 126 - 128
Colors
Thanks everybody for the material
Material

Plugins
AAA Frames - Foto Frame
Filters Unlimited 2.0 - Tramages - Glass Pyramids
Filters Unlimited 2.0 - VM Distortion - Vision Impossible
It@lian Editors Effect - Bordo con luci
L en K's Trix
Medhi - Wavy Lab 1.1 - Magnetic en Bow
Medhi - Weaver
Neology - Transparent Bullseye
Toadies - What Are You?
VanDerLee - Unplugged-X - Defocus
Used Colors

Open Tube/wordart/Masks in Psp, Selections in Selectionmap
Use the Color Palette to switch the Colors easely
When you are using your own Tubes watch the Size (compare the size with the Tubes in Tutorial)
1
Open a New transparent Image of 850 x 550 px
Foregroundcolor = Color 2 and Backgroundcolor = Color 1

2
Effects - Plugins - Medhi - Wavy Lab 1.1 - Magnetic
Colors 1 2 3 4

3
Adjust - Blur - Gaussian Blur - 35
4
Layers - Duplicate
Image - Resize - 75% - Resize all layers Not Checked
5
Selections - Select all
Selections - Float
Selections - Defloat
6
Effects - Plugins - Filters Unlimited 2.0 - VM Distortion - Vision Impossible

7
Effects - 3D-effects - Drop Shadow
7 -7 75 25 Color 2
8
Selections - Select None
9
Effects - Image Effects - Seamless Tiling

10
Adjust - Sharpness - Sharpen
11
Layers - New Raster Layer
Fill with Color 4
12
Layers - New Mask Layer - From Image......Narah_Mask_1207
Layers - Merge - Merge Group
13
Layers - Duplicate
Image - Mirror
Layers - Merge - Merge Down
14
Selections - Load/Save Selection - Load Selection From Disk - hpkselectie 125
15
Selections - Promote Selection to Layer
16
Effects - Texture Effects - Blinds - Color wit
Width 2 - Opacity 50
Horizontal checked
17
Effects - Texture Effects - Blinds - Color wit
Width 4 - Opacity 50
Nothing checked
18
Selections - Select None
19
Blend Mode to Overlay and Opacity to 70
20
Effects - Plugins - Toadies - What Are You?
13 / 13
21
Adjust - Sharpness - Sharpen
22
Effects - Edge Effects - Enhance
23
Activate the Layer below it
24
Selections - Load/Save Selection - Load Selection From Disk - hpkselectie 126
25
Selections - Promote Selection to Layer
26
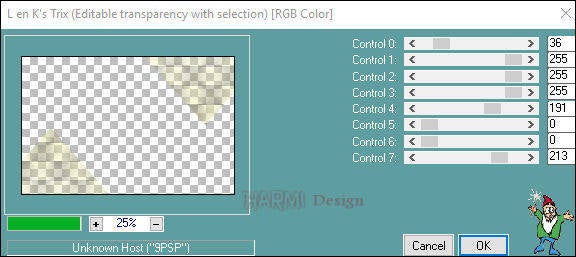
Effects - Plugins L en K's Trix
27
Selections - Select None
28
Blend Mode to Luminance and Opacity to 60
29
Effects - Plugins - Toadies - What Are You?
13 / 13
30
Adjust - Sharpness - Sharpen
Activate Top Layer
31
Layers - New Raster Layer
Fill with Color 1
32
Layers - New Mask Layer - From Image......Astrid masker 62
Layers - Merge - Merge Group
33
Effects - Plugins - Filters Unlimited 2.0 - Tramages - Glass Pyramids

34
Opacity to 60
35
Activate Bottom Layer
Layers - Duplicate
Layers - Arrange - Bring to Top
You are now at the Top Layer
35
Effects - Distortion Effects - Lens Distortion - Pincushion

36
Image - Resize - 85% - Resize all layers Not Checked
37
Selections - Select all
Selections - Float
Selections - Defloat
38
Selections - Modify - Contract - 20
Click on Delete (Keyboard) once
Selections - Select None
39
Effects - Image Effects - Seamless Tiling - Default
40
Effects - Plugins - VanDerLee - Unplugged-X - Defocus - (Defocus 1)

41
Put this Image aside for awhile, we make a new Image
**************************************************************************
42
Open a New transparent Image of 350 bij 450 px
43
Effects - Plugins - Medhi - Wavy Lab 1.1 - Magnetic see point 2
Colors 1 2 3 4
44
Effects - Plugins - Medhi - Weaver

45
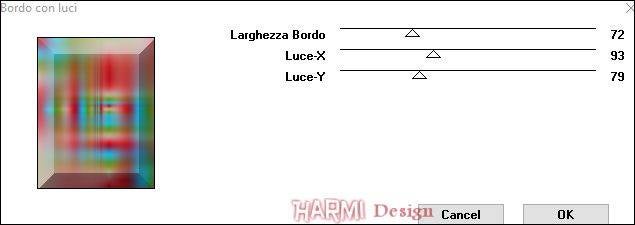
Effects - Plugins - It@lian Editors Effect - Bordo con luci
46
Open Jeanne_Woman_Face_08_05_2018 or your own Tube
Erase watermark
Edit - Copy
Back to your little Image
Edit - Paste As New Layer
47
Image - Resize - 50% - Resize all layers Not Checked
Depends on Tube
Drag Tube to the right place, see Image at Top
48
Layers - Duplicate
Adjust - Blur - Gaussian Blur - 20
Blend Mode to Overlay
Layers - Arrange - Move Down
49
Layers - Merge - Merge Visible
50
Image - Mirror
Edit - Copy
(Don't close the little Image, we need it later on)
Back to your Original Image (Top Layer))
**************************************************************************
51
Edit - Paste As New Layer
52
Image - Resize - 50% - Resize all layers Not Checked
53
Activate Selectiontool (K) or Press K on Keyboard
Position X (Hor.) 86 and Position Y (Vert.) 163

Press M on Keyboard (Move Tool)
54
Layers - Duplicate
Image - Resize - 72% - Resize all layers Not Checked
55
Activate Selectiontool (K) or Press K on Keyboard
Position X (Hor.) 111 and Position Y (Vert.) 26
Press M on Keyboard (Move Tool)
56
Layers - Duplicate
57
Activate Selectiontool (K) or Press K on Keyboard
Position X (Hor.) 111 and Position Y (Vert.) 364
Press M on Keyboard (Move Tool)
58
Layers - Merge - Merge Down
Repeat once
59
Layers - Duplicate
Adjust - Blur - Gaussian Blur - 15
Blend Mode to Multiply
Layers - Arrange - Move Down
60
Activate Top Layer
61
Effects - Image Effects - Page Curl
Curl lower left corner - Color 1 or what you like

62
Effects - Image Effects - Page Curl
Curl upper left corner - Color 3 or what you like

63
Layers - New Raster Layer
Selections - Load/Save Selection - Load Selection From Disk - hpkselectie 128
64
Effects - Plugins - Medhi - Wavy Lab 1.1 - Bow
Colors 1 2 3 4

65
Selections - Modify - Contract - 4
Click on Delete (Keyboard) once
Selections - Select None
66
Effects - Distortion Effects - Wave

67
Layers - Arrange - Move Down
Repeat once
68
Layers - Duplicate
Image - Mirror
Layers - Merge - Merge Down
69
Effects - Plugins - Filters Unlimited 2.0 - Neology - Transparent Bullseye - Rings 7

70
Effecs - Edge Effects - Erode
71
Activate Selectiontool (K) or Press K on Keyboard
Position X (Hor.) 0 and Position Y (Vert.) 42
Press M on Keyboard (Move Tool)
72
Layers - Duplicate
Image - Flip
Layers - Merge - Merge Down
73
Effects - 3D-effects - Drop Shadow
2 2 75 5 color 1
Repeat with -2 -2 75 5 color 1
74
Blend Mode to Overlay and Opacity to 55
75
Activate Top Layer
76
Open your little Image
Image - Mirror
Edit - Copy
Back to your Original Image
Edit - Paste As New Layer
77
Image - Resize - 75% - Resize all layers Not Checked
Opacity to 60
78
Activate Selectiontool (K) or Press K on Keyboard
Position X (Hor.) 550 and Position Y (Vert.) 106
Press M on Keyboard (Move Tool)
79
Layers - Duplicate
Image - Resize - 75% - Resize all layers Not Checked
Opacity to 100
80
Activate Selectiontool (K) or Press K on Keyboard
Position X (Hor.) 640 andn Positione Y (Vert.) 149
Press M on Keyboard (Move Tool)
81
Effects - Image Effects - Page Curl
Curl lower right corner - Color 2 or what you like

82
Activate the Layer below it
-
Effects - 3D-effects - Drop Shadow
0 0 75 20 Black
83
Activate Top Layer again
-
Effects - 3D-effects - Drop Shadow
0 0 75 20 Black
84
Open Wordartmirror
Edit - Copy
Back to your Image
Edit - Paste As New Layer
(it's on Overlay and Opacity 75)
85
Activate Selectiontool (K) or Press K on Keyboard
Position X (Hor.) 308 and Position Y (Vert.) 176
Press M on Keyboard (Move Tool)
86
Layers - Merge - Merge Visible
87
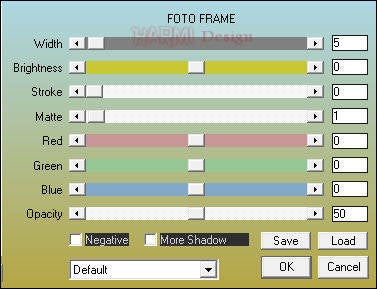
Effects - Plugins - AAA Frames - Foto Frame
88
Set your name/watermark on a new Layer and Merge All
Save as Jpg
©Psp-Art-Harmi
16 -05-2018
I look forward to your creation
@

Another one, tube k-T-s
Tested by Ria and Manuela, thnxxxxx girls
Ria, tube Maryse

Ria, tube Thafs

Manuela, tube Jeanne
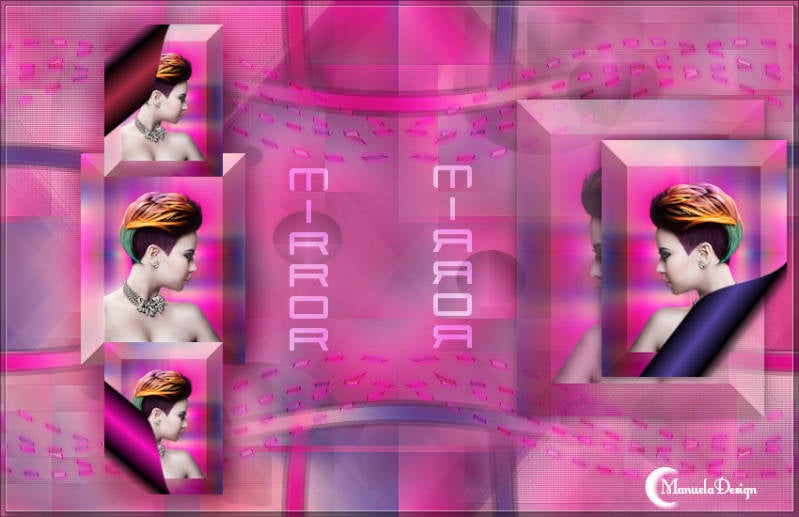
Manuela, tube Animabelle